Introduction
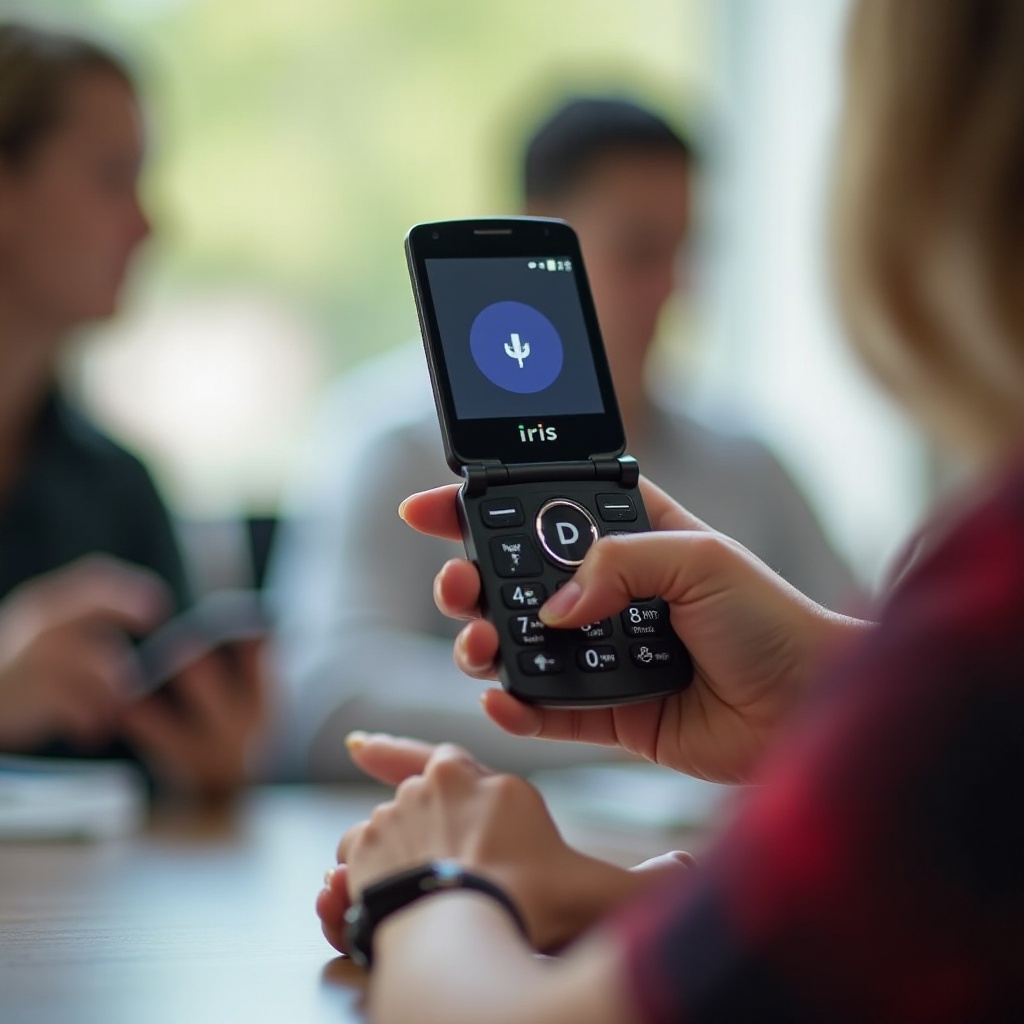
Scanning documents on an Iris flip phone might seem complicated at first. However, with the right guidance, it can be a straightforward process. This guide will walk you through everything you need to know about scanning documents on your Iris flip phone. By the end, you’ll be able to confidently scan, edit, and save important documents using your device.
What You Need Before You Start
Before diving into the scanning process, make sure you have a few essentials at hand:
- Iris Flip Phone: Ensure your device is fully charged or connected to a power source.
- Document to Scan: Place the document on a clean, flat surface.
- Scanning App: Download a reliable scanning app from your phone’s app store. Popular options include CamScanner, Adobe Scan, or Google Drive.
- Good Lighting: Proper lighting ensures your scans are clear and readable.
With these items ready, you can smoothly proceed to the scanning process on your Iris flip phone.
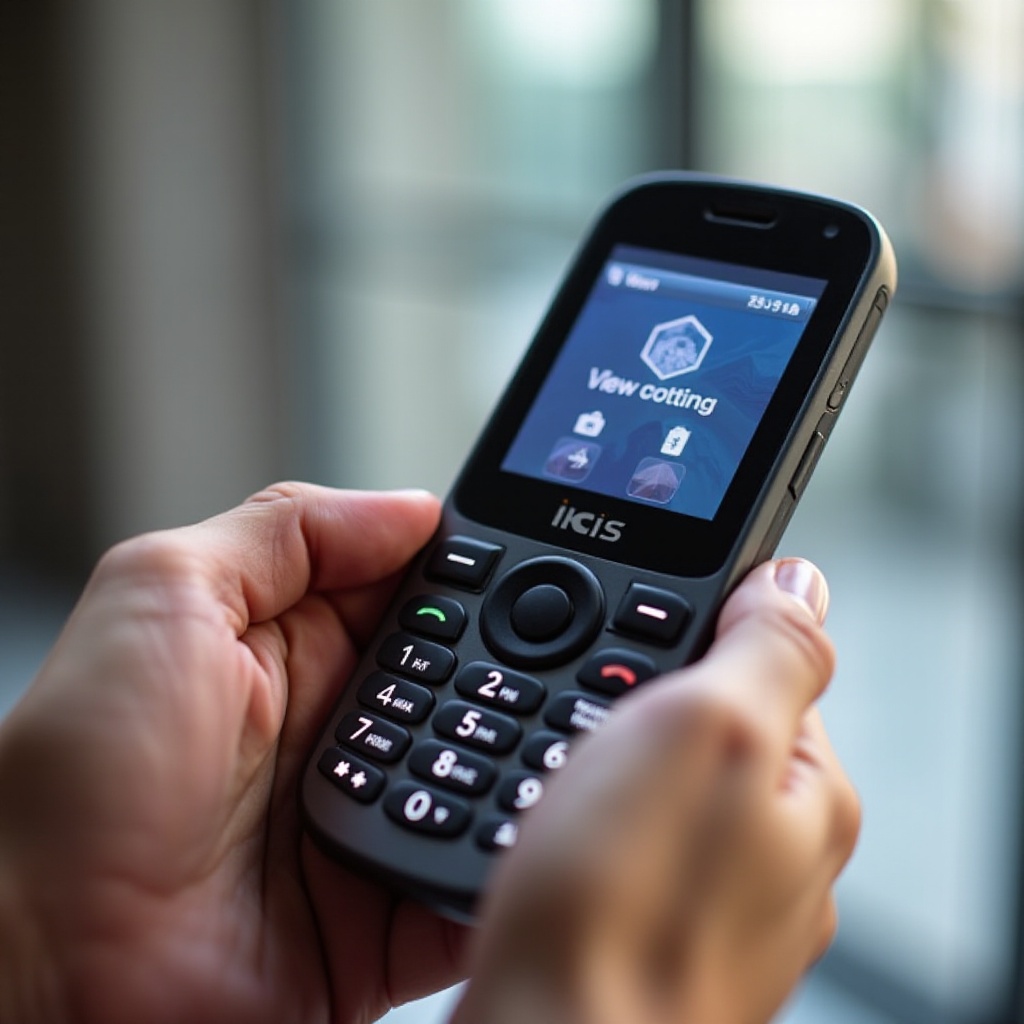
Step-by-Step Guide to Scanning Documents on Iris Flip Phone
Now that you’re prepared, let’s dive into the step-by-step process for scanning documents:
- Open the Scanning App: Start by launching the scanning app you downloaded.
- Set Up the Scan:
- Position your Iris flip phone above the document.
- Ensure the document fits within the frame displayed on your screen.
- Adjust Settings:
- Depending on the app, you might need to select options like document type or scan mode. Choose settings that suit the quality you need.
- Initiate the Scan:
- Hold the phone steady to avoid blur. Tap the capture button.
- The app may auto-detect edges; if not, manually adjust them.
- Review the Scan:
- Check the scanned image for clarity. If it isn’t clear, you might need to scan again.
- Enhance the Scan:
- Most scanning apps offer tools to crop, rotate, and adjust the brightness/contrast of the scan.
Following these numbered steps can make the whole process easier to follow and improve the readability of your guide.
Editing and Saving Scanned Documents
After scanning, editing the documents ensures they are perfect before saving or sharing:
- Crop and Adjust:
- Use the crop tool to remove any unwanted background.
- Adjust the brightness, contrast, and sharpness to enhance the readability.
- Combine Multiple Pages:
- Some apps allow you to merge multiple scans into a single document. Use this feature if you have several pages.
- Save the Scan:
- Choose a storage option. You can save it to your phone’s gallery, a cloud service, or directly email it.
These steps will help you maintain organized and professional scans.

Troubleshooting Common Issues
Even with the best preparation, you might encounter some issues. Here are solutions to common problems:
Blurry Scans:
– Ensure your hand is steady.
– Increase the lighting in your environment.
App Crashes:
– Update the app to the latest version.
– Restart your phone to refresh its memory.
Error Messages:
– Check your phone’s storage space. Free up memory if it’s full.
– Ensure your app has the necessary permissions.
Addressing these issues promptly will help keep your scanning tasks hassle-free.
Conclusion
Scanning documents on an Iris flip phone is simple once you get the hang of it. By following the steps outlined, you can easily scan, edit, and save all your important documents. Regular practice will make you more proficient in using your phone’s scanning capabilities.
Frequently Asked Questions
How can I improve the quality of my scans?
Ensure good lighting, hold the phone steady, and use the app’s enhancement features to adjust brightness and contrast.
Which app is best for scanning on the Iris flip phone?
CamScanner, Adobe Scan, and Google Drive are highly recommended for their user-friendly interfaces and quality results.
Can I scan multiple pages in one document?
Yes, most scanning apps allow you to combine multiple pages into a single document, perfect for multi-page documents.