Introduction
In the world of virtual meetings and online communication, finding your voice unheard is a common frustration. This problem typically stems from your computer’s microphone being off or not configured properly. As remote work and virtual interactions become the norm, knowing how to activate and configure your microphone is essential. This guide will walk you through the process for different operating systems like Windows and macOS, providing step-by-step instructions to ensure your microphone is functional and reliable.
Understanding Your Computer’s Microphone Setup
Before you begin enabling your microphone, it is crucial to grasp the basics of your computer’s audio hardware setup. Most modern computers are equipped with integrated microphones; however, depending on your needs, you might require an external microphone to achieve optimal audio quality.
Built-in microphones on laptops are typically located at the top of the screen. In contrast, desktop computers often lack built-in mics and necessitate external ones. External microphones, whether USB-connected or using an audio jack, offer flexibility and superior audio capture quality. Ensuring that your microphone is correctly attached is the first step before delving into your computer’s settings.
Preparing to Turn On the Microphone
Getting your microphone ready involves both verifying physical connectivity and configuring input ports on your system.
Checking Hardware Connections
Start by investigating if your microphone is securely connected. Built-in microphones may require you to verify recognition in your laptop’s settings. For external microphones, ensure that they are firmly plugged into the USB or audio jack.
Identifying Input Ports
If you use an external microphone, recognizing the necessary input port is crucial. On PCs, audio ports are color-coded: generally, pink is for mic input. USB microphones should connect to a functional USB port, while on laptops, a combined headphone/microphone port might be present.
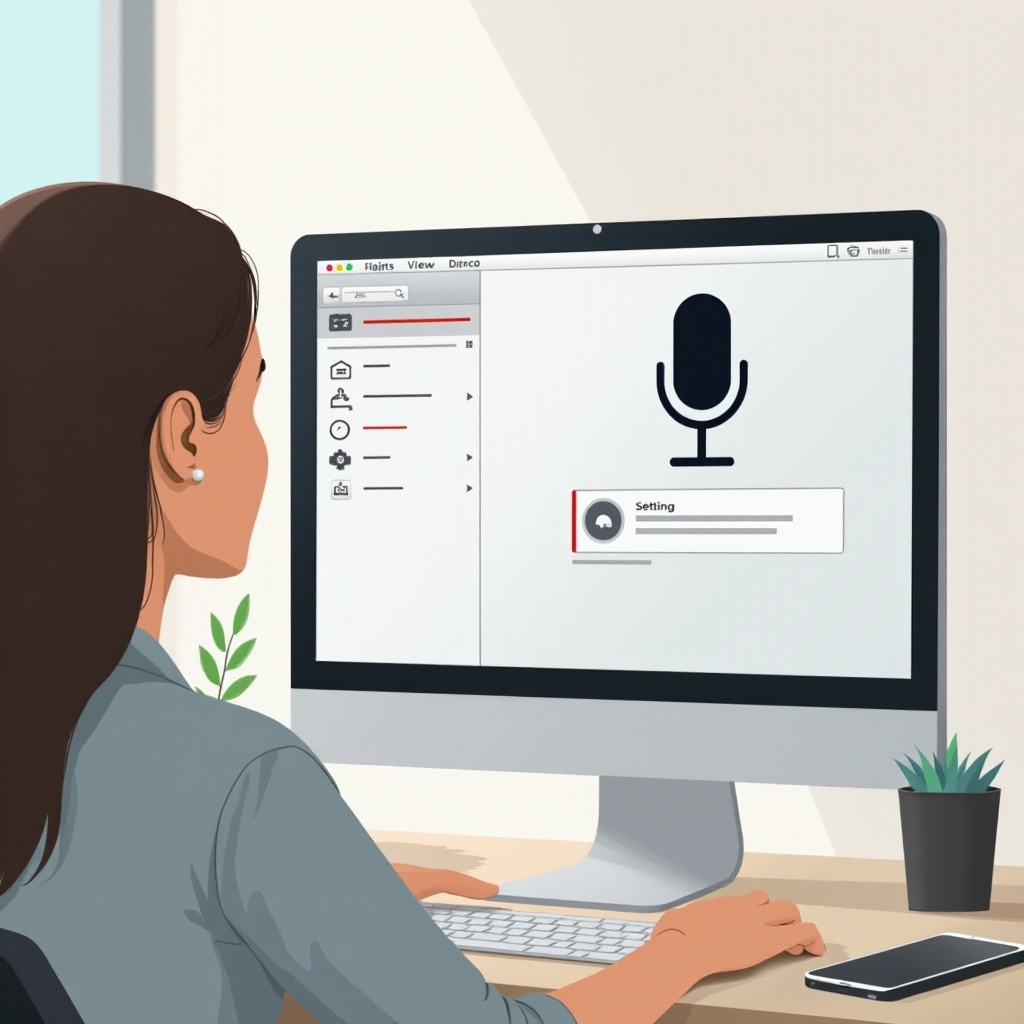
How to Enable the Microphone on Windows
Once you’re certain of the physical setup, proceed to enable the microphone within Windows settings by accessing the sound settings and ensuring the microphone’s activation.
Accessing Sound Settings
- Click the Start menu and open Settings.
- Navigate to “System” and choose “Sound.”
- Under “Input,” verify the correct microphone device is selected.
- If not, click “Manage sound devices” and select the appropriate microphone.
Verifying Microphone Enablement
- Still in the “Sound settings,” scroll to the “Input” section.
- Ensure the microphone is enabled by confirming the “Disable” button is unchecked in “Device Properties.”
- Adjust volume levels and test the device to ensure it functions properly.
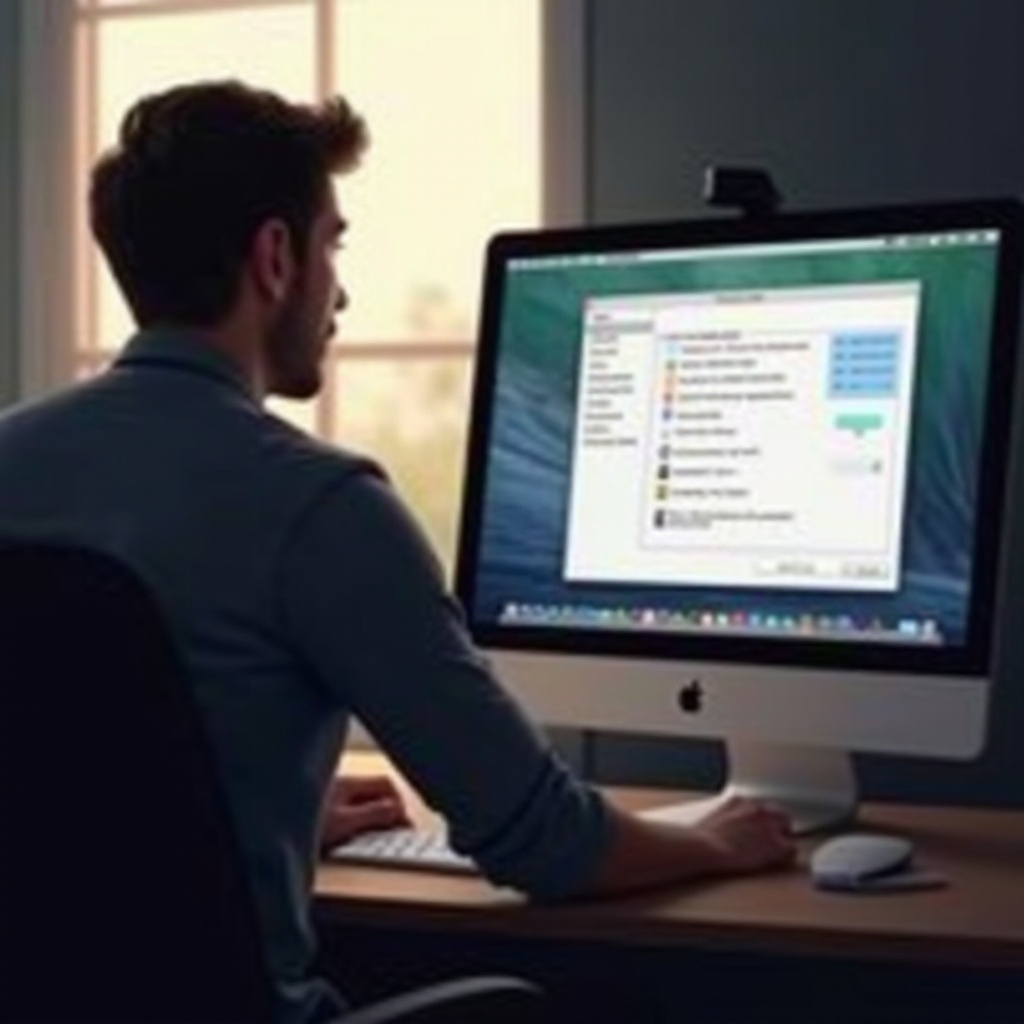
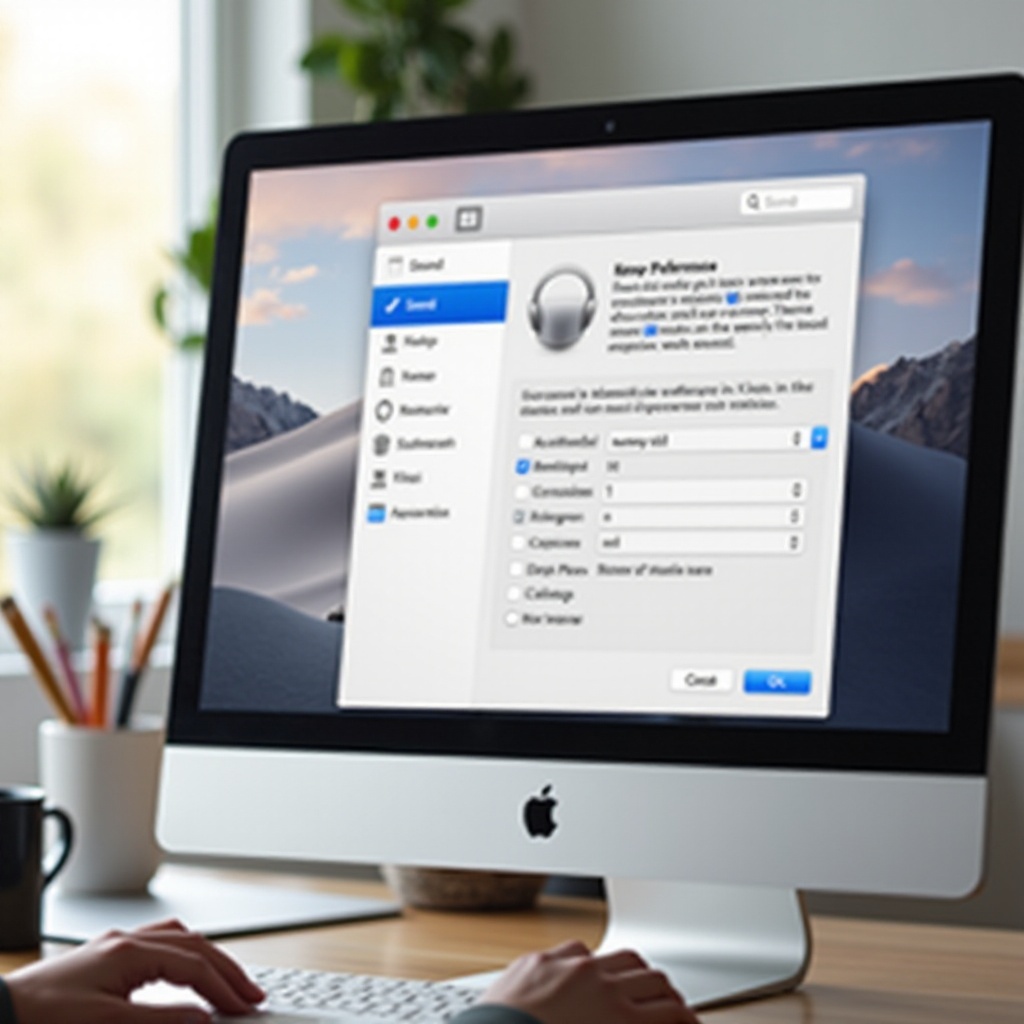
How to Activate the Microphone on macOS
For macOS users, enabling the microphone involves adjusting input settings via System Preferences, ensuring seamless activation.
Navigating System Preferences
- Click the Apple menu and select “System Preferences.”
- Open “Sound” and go to the “Input” tab.
- Select your preferred microphone from the list of input devices.
Adjusting Input Settings
- Once your microphone is chosen, adjust the “Input volume” by sliding the control to a suitable level.
- Test the microphone by speaking into it and checking if the input level indicator moves. Ensure the microphone isn’t muted or set too low if the indicator remains static.
Testing Your Microphone’s Functionality
Upon enabling your microphone, it’s imperative to test its functionality to confirm it operates as expected across all applications.
Using Built-in Tools
Operating systems generally come equipped with built-in tools for this purpose. Windows utilizes the Sound settings, while macOS employs the input level indicator in System Preferences.
Recommended Testing Applications
Comprehensive testing can be carried out with applications like Audacity. Available on both Windows and macOS, it allows you to record audio to check for distortions or noise.
Troubleshooting Common Microphone Issues
Even with an enabled microphone, issues can arise. These can often be resolved through simple troubleshooting methods.
Low Microphone Volume
- Verify your volume levels in Sound settings or System Preferences.
- Ensure there are no obstructions near the microphone.
- A computer restart might sometimes fix low volume problems.
No Sound Detected
- Re-check your connection points for any external microphones.
- Confirm that the correct input device is selected in settings.
- Update audio drivers using the device manager on Windows or check for software updates on macOS.
Conclusion
Whether using a Windows PC or macOS device, activating and setting up your microphone can be accomplished with ease by following the specified steps. Ensuring your microphone is configured correctly guarantees smooth and trouble-free communication for all your calls and recordings. In case of any difficulties, systematic troubleshooting can swiftly rectify most issues.
Frequently Asked Questions
How do I update my microphone drivers on Windows?
To update drivers, open Device Manager, find your microphone under ‘Audio inputs and outputs,’ right-click it, and select ‘Update driver.’
What permissions do I need to check on macOS?
Go to ‘System Preferences,’ then ‘Security & Privacy.’ Under the ‘Privacy’ tab, ensure all apps requiring microphone access are authorized.
How can I improve my microphone quality?
Consider external microphones with pop filters, adjust input levels, or use software enhancements to reduce noise and improve clarity.